Home

Home
HOME
Showing posts with label Beer. Show all posts

Saturday, February 01, 2014

Another Porter

So as some of you may know, I love my beer, good craft beer.  I also brew my own beer.  Think I've posted some pics of a batch awhile ago.  Well my favorite beer is a Porter, love to make it, love to drink it.  I use extract due to limited space and not having tools for full-grain.

So my latest batch is a Deschutes Black Butte Porter clone.  It was bottled around the 1st of the year and should be ready to start opening any day now!  I naturally carbonate my beer in the bottle so have to wait awhile before opening.  I have never had a bad batch of beer I've made and this should be a good one as well.  Here's the recipe:

  • 7 Lbs liquid malt extract
  • 1 Lbs Base grains
  • 1.13 Lbs Specialty Grains
  • Yeast: White Labs London Ale WLP013
I was going to explain the process, but I noticed I already posted awhile ago with a Dark Cascadian so you can check out the pics of an almost complete process here: Give Me Head, Cascadian Dark


The porter is done, carbonated, and getting drunk a little too rapidly!  Its hard not to enjoy it bunches when homemade is sooooo good!  Already plans to make some more soon, to avoid buying it.  Don't quite have the overlap synced just right to always have my own beer on hand, but getting closer.

CIAO!

Thursday, September 01, 2011

Rocket Rod's Positively Porter


In honor of Rocket Rod Romanak, who passed away February 4, 2011.  Rocket Rod was a homebrewer in Kailua Kona, HI who was the Homebrewer of the Year in 2004 with this Robust Porter recipe.  Rocket Rod owned and operated Rocket Suds Homebrewing Equipment & Supplies, and was an Air Force veteran. Rocket Rod attended over 25 AHA National Homebrewers Conferences in his lifetime.


Brewed 9/1/2011


5 oz Black Patent Malt
5 oz Chocolate Malt
5 oz Black Roasted Barley
1 1/2 pnds Special B Malt
9 1/2 pnds Amber Extract


1 oz Nugget hops
2 oz Chinook Hops


WLP California Ale yeast


Can't wait for this one!! Should be a good one, recipe went well, great looking color and taste at the bucket.  Double pitched this one.  Relax, have a brew!!

Friday, July 08, 2011

The Dreaded Bottling

Bottles are cool.  You can then give them to friends as gifts or share them.  But I've gotta go keg soon.  Bottles suck.  

So after your beer has sat for another week, activity has ceased, and your beer will have clarified a bit.  Its time to bottle.  First clean all your bottles.  This is the part for me that takes some time.  
This attachment shoots a jet of water into the bottles.
Let em dry upside down, and enjoy a beer!
With bottles you have to produce the carbonation in each bottle.  We do this by making a small amount of sugar water to give the yeast some more food.  They poop a little more and let off CO2 inside the bottle, and VOILA, carbonation when you crack that cap.
Don't remember what kind of sugar we use but its not table sugar.  Anyway, we heat it and 2 cups water to boiling, boil for a minute, than cool it to 80 degrees.
Then we pour it in a bucket and start siphoning the beer from our carboy into the bottling bucket.
Once in the bucket, we get our bottles ready and hook our filler to the end of the tube.  The filler has a small nipple at the end, when you press down inside the bottle, it releases beer.  Fill to the top and when you take out the filler, it gives it the perfect amount of headspace once capped.  
I work a 12 pack at a time, fill then bottle. For a total of 4 12 packs.

Anywhere from 1.5 to 2 weeks in the bottle.  This darker ale actually calls for 4 weeks, I'm going to be trying them in 3 and most of these will be coming with me for pre-trail refreshment with the Machines.

Tasted real good at bottling (sans carbonation), good flavor.  Final gravity measured at about 1.014 giving my  alcohol content a 6.1%.
Till uncapping! 8) 8)


Thursday, June 30, 2011

Give Me Head! Northwest Cascadian Dark Ale Step-by-Step w/ pics

Before I do anything, everything is sanitized and rinsed well.  There are a bunch of sanitizers out there that work great; I use simple and cheap Oxi-Clean.


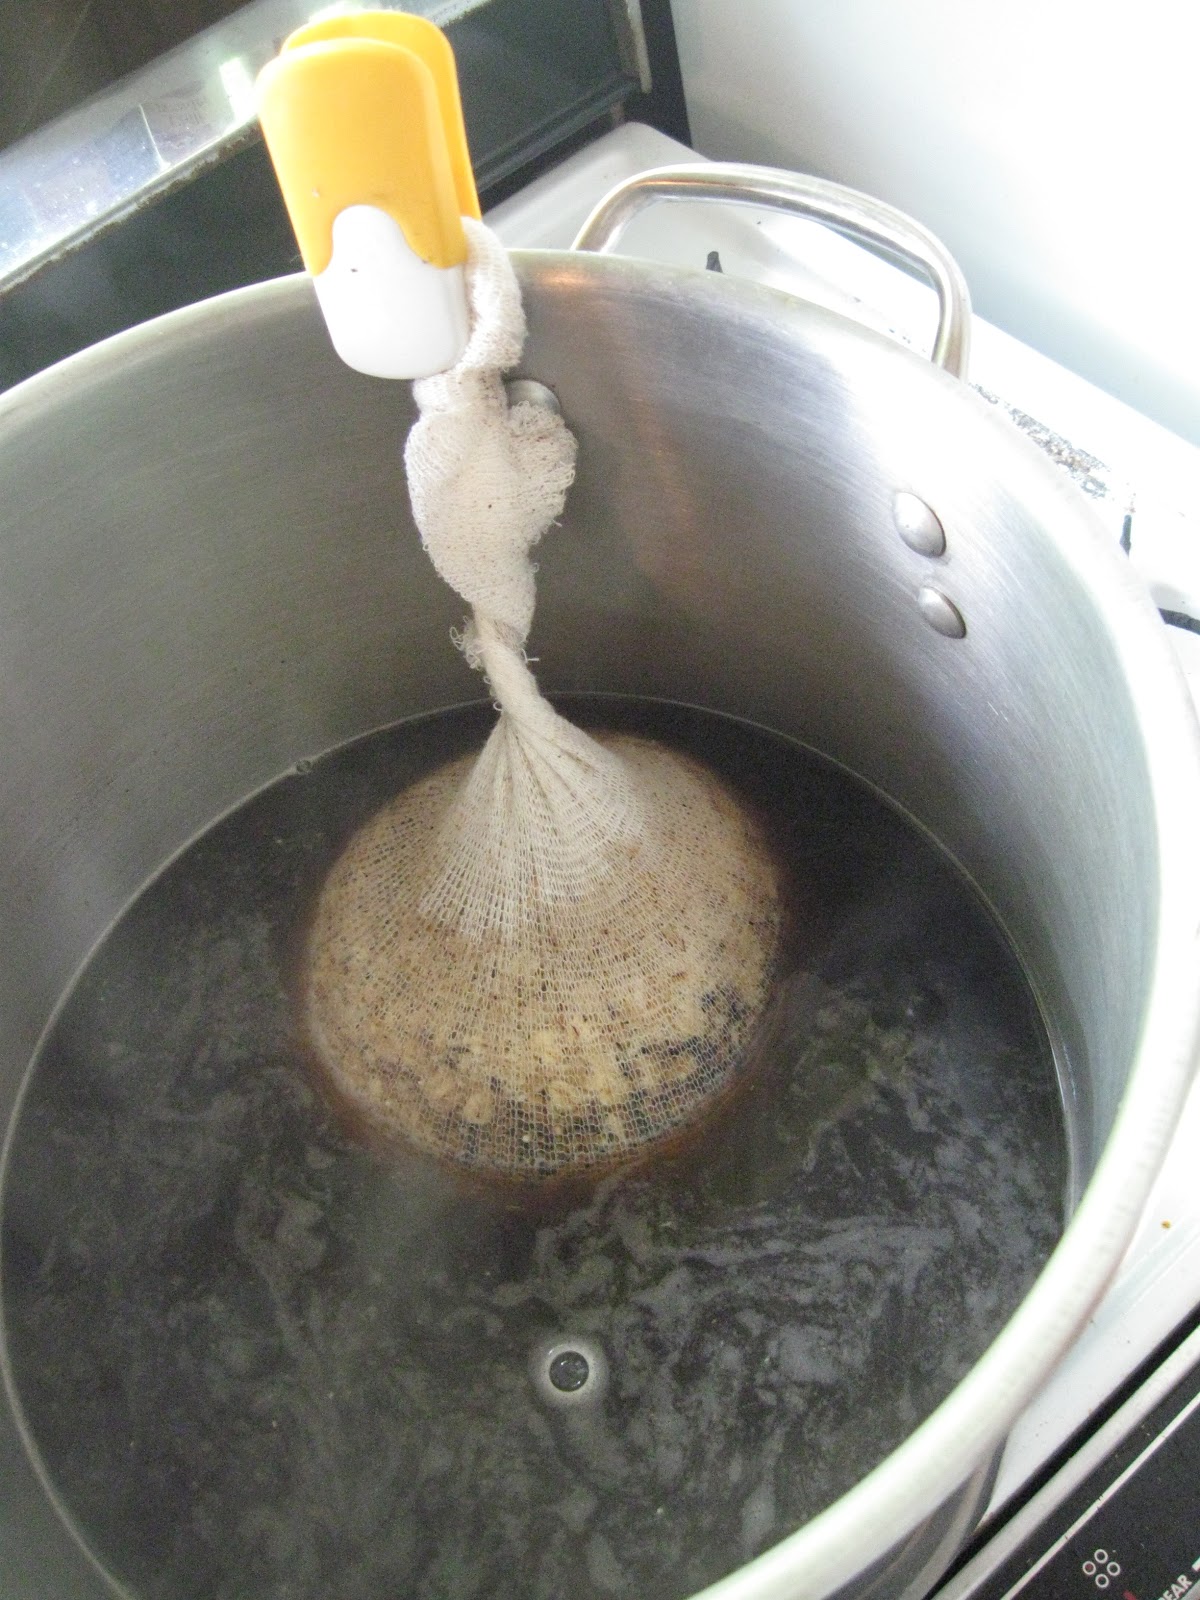
In a large kettle, heat up about 2 gallons of water (I use fresh well water, if yours comes from the tap, you may want to check its quality because things like chlorine and such can throw off your beer) to 155 degrees.  Turn off the heat and let your grains soak.  Your grains can soak in a grain bag and treat it like a tea bag, letting the colors andn such seep through the grains. 


For this recipe, I had a full pound of grain: 1/4# De-bittered Black Malt, 1/2# Crystal 40L Malt, and 1/2# Flaked Oats. Soak the grains for 25 minutes.  After this time, remove the bag, let the water drip out, give it a squeeze, and throw your grains in the composter, or feed to your chickens.

Enjoy a beer while you're waiting.


Now add 1 gallon of water to that and bring to a boil. 


Once you have it to a boil, turn off the heat, and add your extract(s), stirring as you do to make sure it dissolves well. I had 7 pounds of Munich extract and 1 1/2 pounds of Dark 2 Candi Syrup.


Heat it back to a boil.  Lots of sugars in this wort(beer mixture) and once it reaches boil, can boil over very easily or burn so watch it carefully (my gas burners are not very strong and I can keep them on high the entire time).  Once you reach a roiling boil, adjust your heat to maintain, and set your timer for 60 minutes.
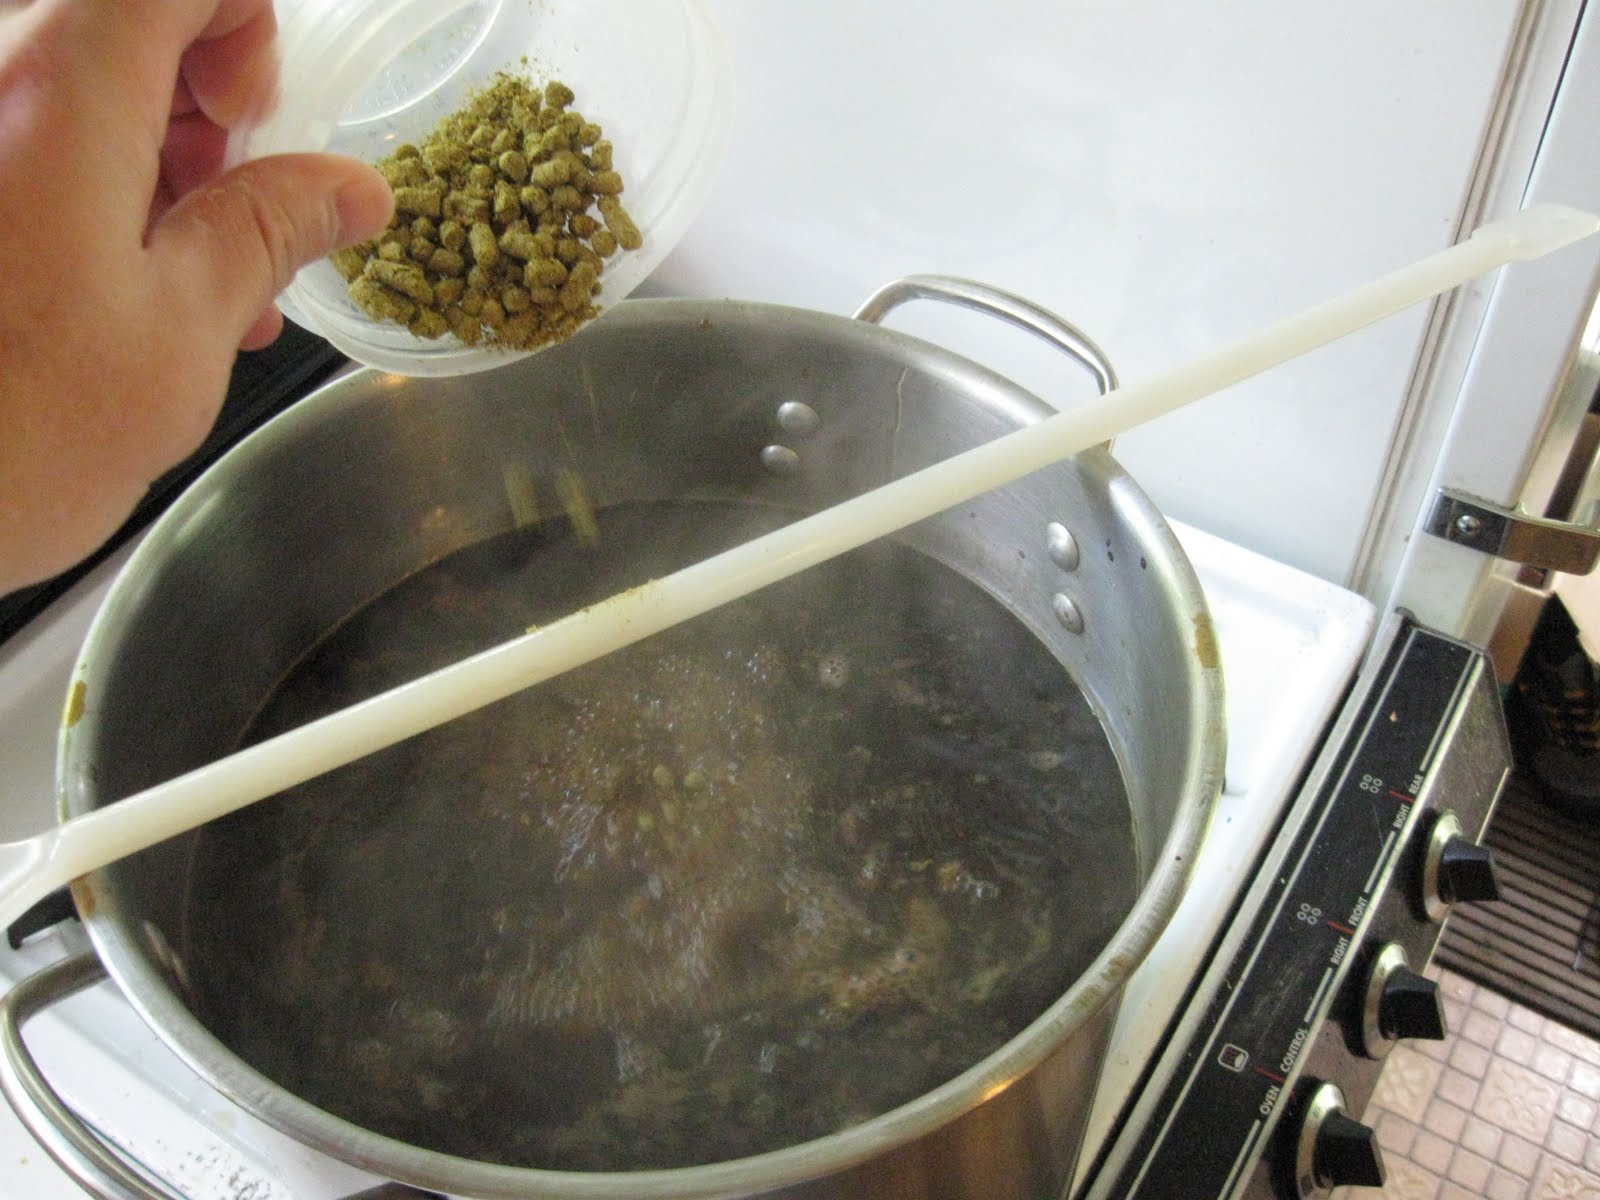
The hops are added at different times of the boil, to accomplish different things in your beer.  The hops you use will depend on the recipe or your preference.  Generally, bittering hops are added at the beginning of your boil (when it comes to a boil and you start your time).
I used 2oz of Columbus hops for the bittering.
At 15 minutes left (of your 60, so 45 minutes in) the flavoring hops are added.  I used 1oz of Citra.
Lastly comes the aroma hops at 5 minutes left to your boil.  I used 1oz of Centennial.

Once the 60 minutes of boiling is over, our goal is to cool this wort down to 80 degrees as fast as possible.  There are tools (wort chillers, presses) for this but I fill up my sink with cool water (if your tap water isn't very cool, add ice), and let my pot sit in the water, draining and replacing the water about 3 times.
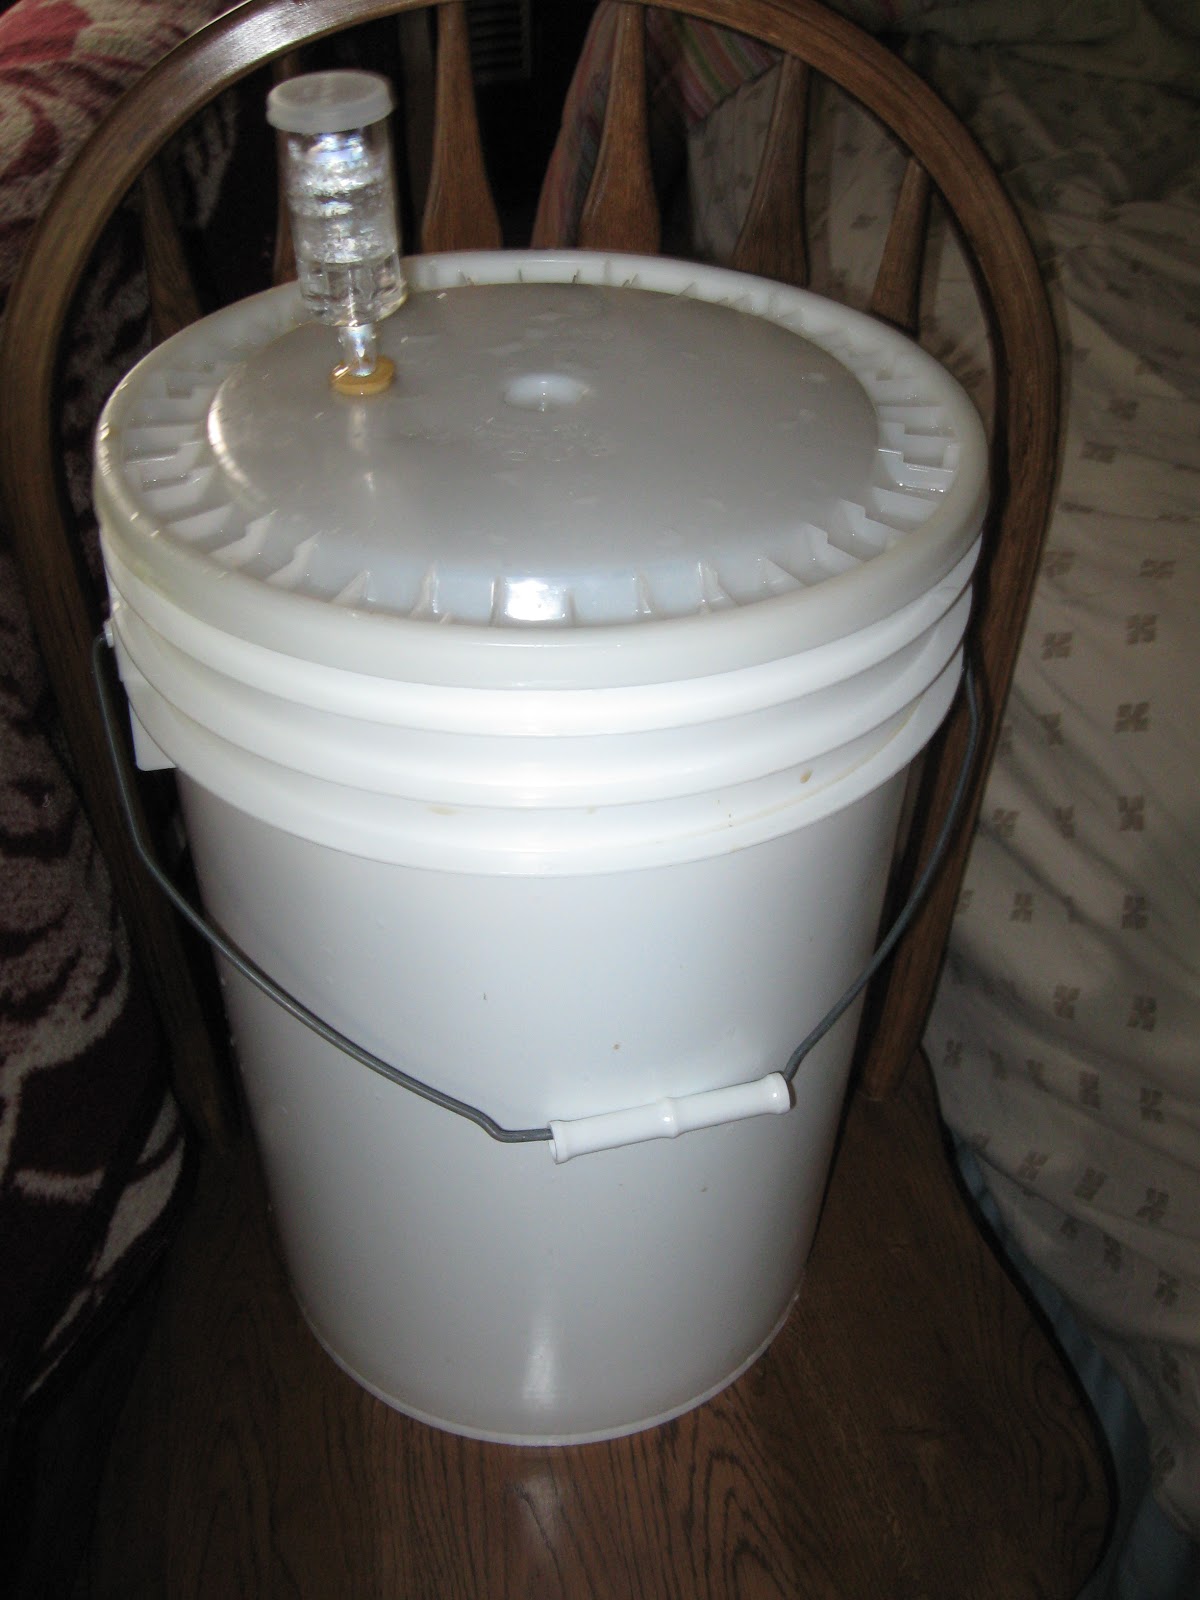
Once you get it to 80 degrees, its time to throw this mixture into a sanitized bucket, add water to make 5 gallons, seal, and place your bubbler in the bung hole (a bubbler is a small device that lets gases out but no air in, preserving that sterile environment.

Save a little to take a gravity reading (and taste!)  was delicious already!!
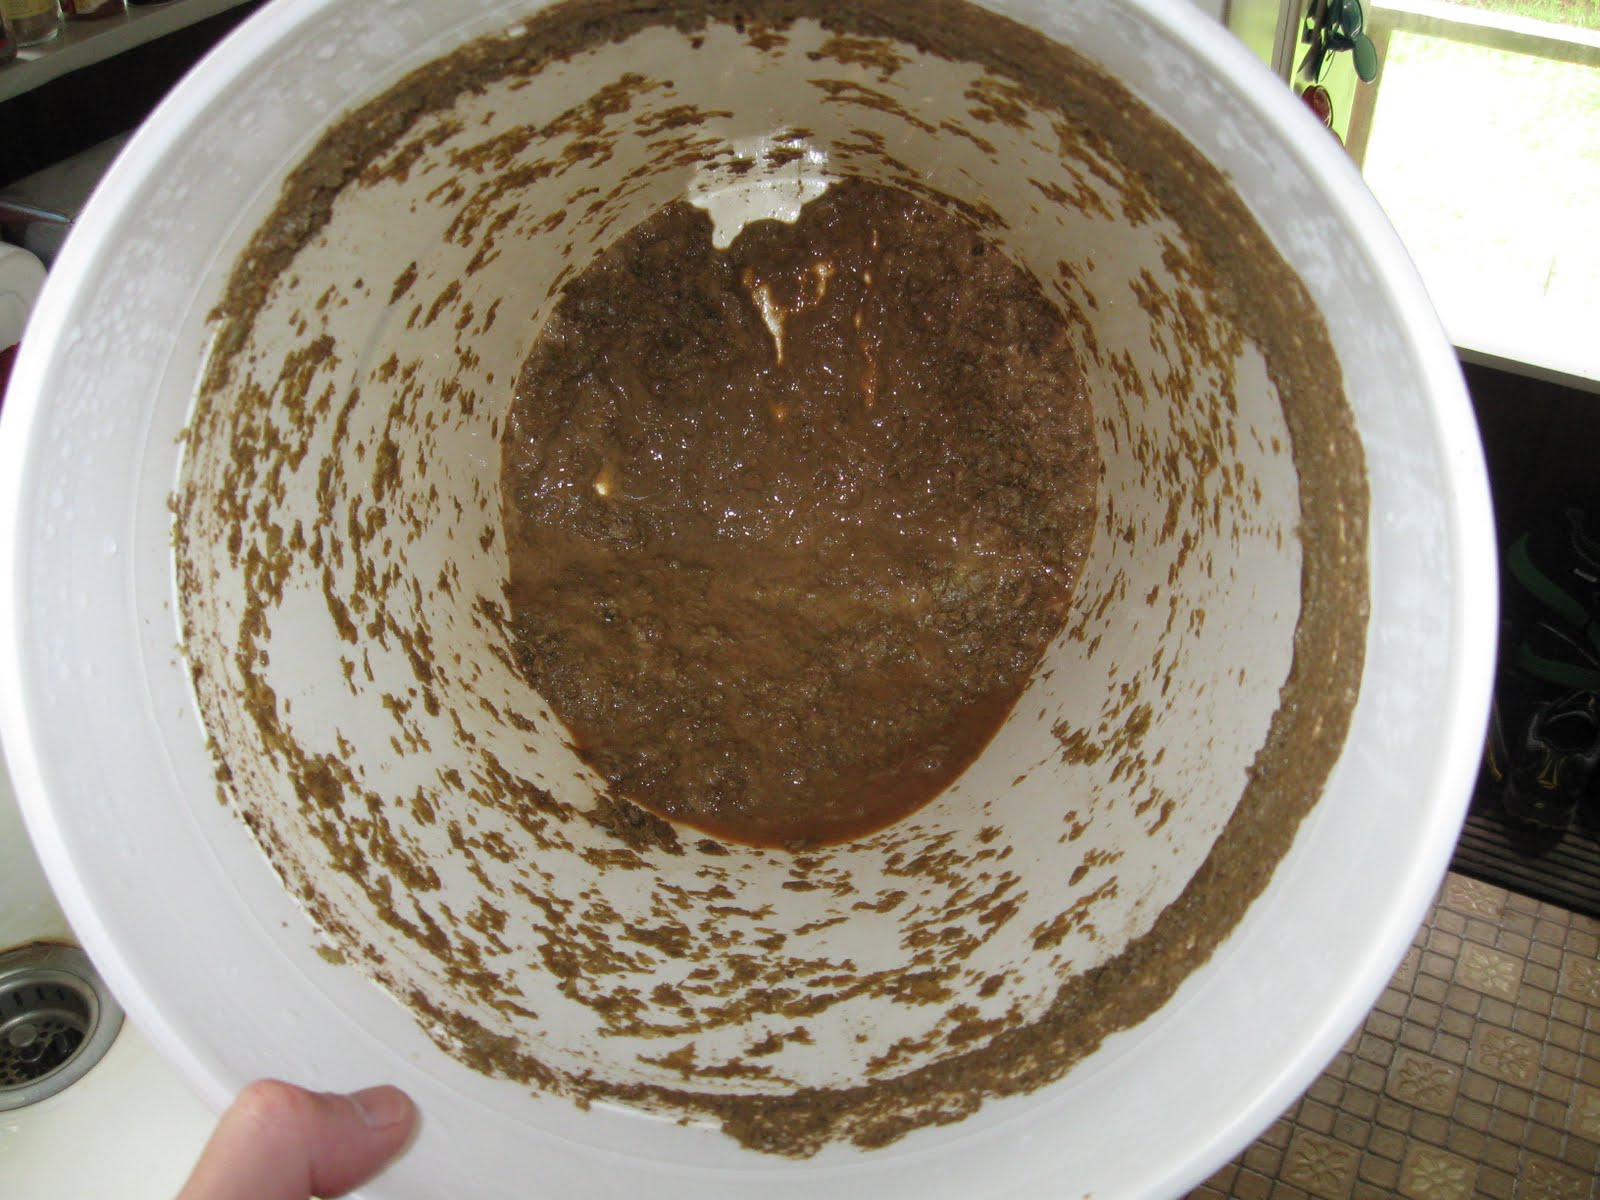
After about a week, the yeast activity should slow down (no more bubbling of the bubbler) and its time to transfer this mixture into a glass carboy for another week of clarifying. This is what was left in the bottom of the bucket by the yeast.  Great yeast activity!

Let it sit for another week of so.
Than its time to bottle.  Will add the next section once I reach that point!  Gonna be a good brew!!!